Are you an aspiring 3D artist fascinated by the world of Blender? Do you find yourself constantly striving for perfection and precision in your creations? If so, you're in the right place! In this blog post, we will explore the concept of the Blender 3D cursor and its significance in achieving accuracy and excellence in your Blender projects. So, let's dive in and discover the art of bringing the Blender 3D cursor to origin!
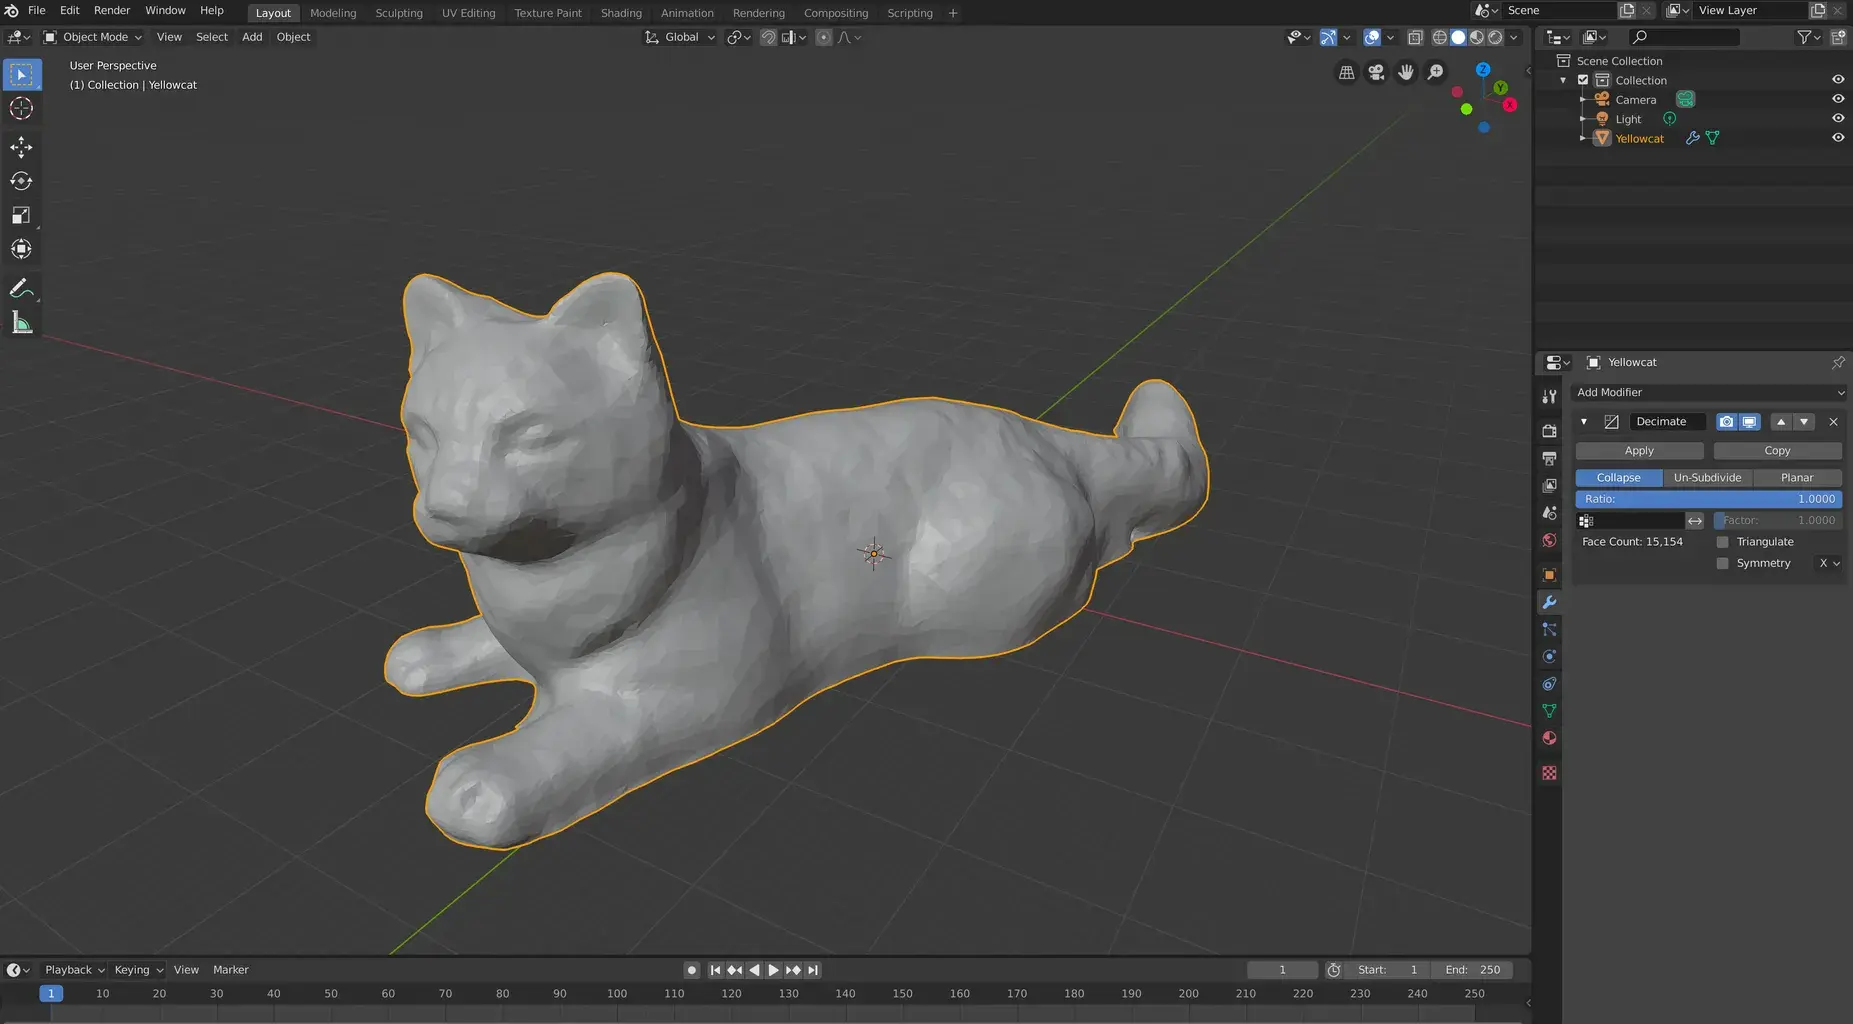
Before we begin our journey towards mastering the Blender 3D cursor, let's make sure we have a clear understanding of what it actually is. The Blender 3D cursor is a small, crosshair-shaped tool that acts as a reference point in the 3D viewport. It allows you to interact with objects and manipulate their position and orientation with great precision.
The idea of bringing the Blender 3D cursor to origin may sound simple, but its impact on your Blender workflow is immense. The origin point, also known as the pivot point, is the center of an object's transformation. It influences various aspects of an object's behavior, such as rotation, scaling, and mirroring. By aligning the 3D cursor with the origin point, you gain full control over these transformations, resulting in more accurate and consistent modeling.
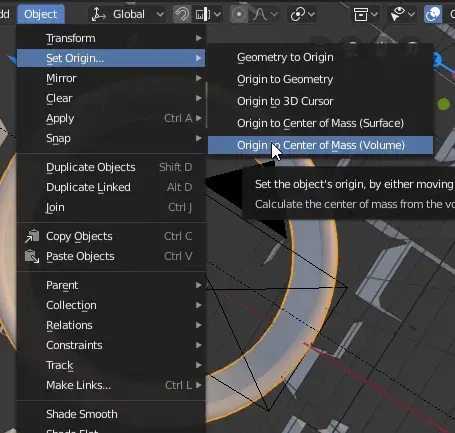
Moving the Blender 3D cursor to origin is a straightforward process. To begin, select the object you wish to manipulate. Next, go to the Object menu, locate the "Set Origin" option, and choose "Origin to 3D Cursor." Voila! The 3D cursor is now aligned with the object's origin point. Engaging with this simple yet powerful feature opens up endless possibilities for precision modeling within Blender.
Snapping is a game-changing tool that complements the Blender 3D cursor perfectly. It allows you to snap objects, vertices, edges, and faces to specific positions or reference points in the 3D space. By utilizing snapping in combination with the 3D cursor, you can achieve unparalleled accuracy in your designs. To enable snapping in Blender, go to the magnet icon in the 3D viewport header and choose your preferred snapping mode. Experimenting with different snapping options will help you find the perfect setup for your modeling needs.
Now that we have explored the functionalities of the Blender 3D cursor and snapping, let's delve into how these tools come together to unlock the art of precision modeling. Imagine you're working on a complex architectural design, and you need to align several objects precisely. By placing the 3D cursor at the origin point and leveraging snapping, you can effortlessly align vertices, edges, or faces, ensuring an accurate and coherent composition. This attention to detail elevates the quality of your work and creates a truly professional outcome.
Beyond its profound impact on precision modeling, bringing the Blender 3D cursor to origin also enhances your overall workflow efficiency. Being able to quickly and accurately manipulate objects saves you valuable time, allowing you to focus more on the creative aspects of your project. Additionally, the consistent use of the 3D cursor and snapping streamlines your workflow, making it easier to replicate and iterate upon your designs. Embracing these techniques empowers you to become a more efficient and effective artist within the Blender ecosystem.
As with any skill, mastering the Blender 3D cursor and precision modeling requires practice and dedication. Don't be discouraged if you don't achieve perfection right away. Take the time to experiment with different objects, layers, and complex scenarios. As you become more comfortable with the Blender interface, you will find yourself seamlessly bringing the 3D cursor to origin and creating astonishingly detailed compositions.
In conclusion, the Blender 3D cursor is a game-changing tool that enables precision modeling and enhances your overall workflow. By aligning the 3D cursor with the origin point and leveraging snapping, you can achieve unprecedented accuracy and efficiency in your Blender projects. Remember, practice makes perfect. Embrace the power of the Blender 3D cursor, and let it guide you on your journey towards creating breathtaking 3D masterpieces.
Now, it's time to unlock your full potential with the Blender 3D cursor. Embrace the quest for perfection, and let your imagination soar to new heights in the world of Blender!
*Keywords: blender 3d cursor to origin, blender precision modeling, blender 3d cursor, blender snapping, blender workflow efficiency*
To reset your 3D cursor to the World Origin in Blender, you can follow these simple steps:
2. Next, press the Shift + S keys to bring up the Snap menu, and select "Cursor to World Origin."
3. Voila! Your 3D cursor is now reset to the World Origin. You can confirm this by checking the coordinates in the sidebar.
By resetting the 3D cursor to the World Origin, you'll have a clean starting point for your modeling and editing tasks. It ensures that you have a dependable reference point that aligns with the virtual space of your Blender project. So, go ahead and give it a try!
Moving your 3D cursor to a specific vertex in Blender is a handy technique that can enhance your workflow. Follow these steps to accomplish this task:
2. With the vertex selected, press the Shift + S keys to bring up the Snap menu, and choose "Cursor to Selected."
3. Brilliant! Your 3D cursor is now positioned exactly where the selected vertex is located. It allows you to use it as a precise reference point for transformations or as a pivot point for scaling and rotation. Having accurate control over the 3D cursor's position empowers you to work with precision and achieve the desired results in your Blender projects. So, dive in and experiment with this technique!